it is a nice, cold rainy day here in north louisiana. i am kind of trapped in the house with the dogs. so i thought it would be a good time to work on my gallery wall.
a few months ago i took all of my family pictures out of their mis-matchy frames. i have been waiting to catch a good sale to get some matching matted frames on sale at hobby lobby or michael’s. finally a few weeks ago they had frames at 40% off and then had a coupon in the paper for 25% off your entire purchase of frames.
yippeeeee! i bought 18 pictures frames which would have normally cost me around $175 for $82 dollars!
so i am going to show you how i put it together and hung them on the wall. i don’t know if i would necessarily refer to is as a tutorial because i am definitely not a professional picture hanger… but this is how i did it and it worked for me! 🙂
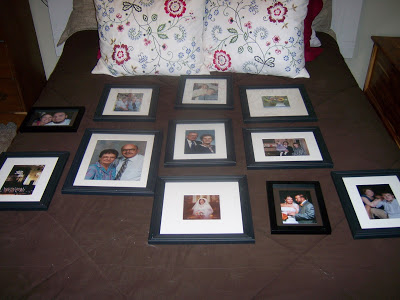
first thing i did was lay the pictures out on my guest bed and try to find an arrangement that i liked. i knew i wanted it to look like a gallery arrangement but i couldn’t figure out how to do that and keep it all even and in rows and symmetrical like i wanted it to be….
so that was the first little arrangement. i thought it was too spaced out and i wasn’t diggin the placement of the one 8 x 10 i have in this arrangement.
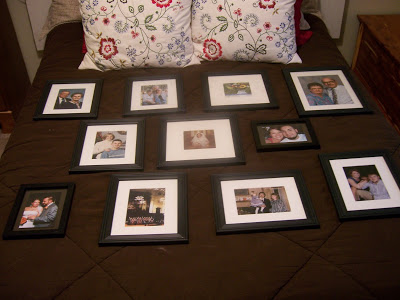
this was the second one. once again it felt too row-by-row symmetrical. and i was still not crazy about the 8 x 10. it felt so heavy on the top and the small pictures just feel kind of lost. i think i was scared to put them close together. i guess because i didn’t think they would get along? finally i got brave.
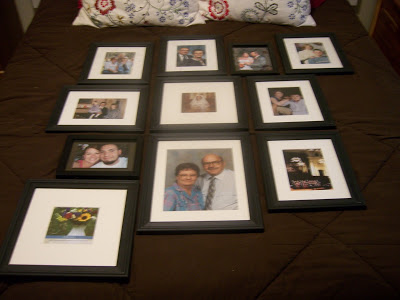
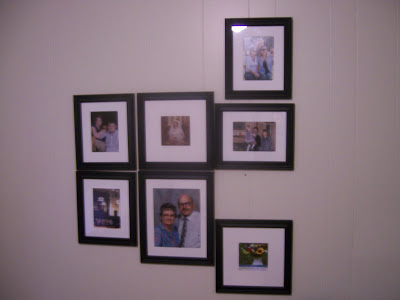
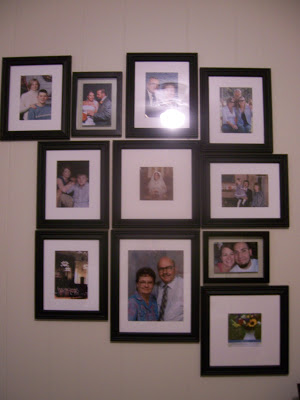
now that is what i am talking about! 🙂 i still have to find a picture for the bottom left picture frame but i really like this arrangement. so i kept the picture open on my camera and got after it.
so i stuck my ryobi level (if you don’t have one of these you need one.. just sayin..) on the wall and turned it on to hang the first (bottom) row. it was pretty easy to get the three level pictures on there but when i tried to hang the square picture in the bottom right it got a little tricky! i couldnt figure out where to put the nail. so after a few genius unnecessary nail holes in the wall (that are luckily covered by the pictures themselves) i figured out a way to do it.
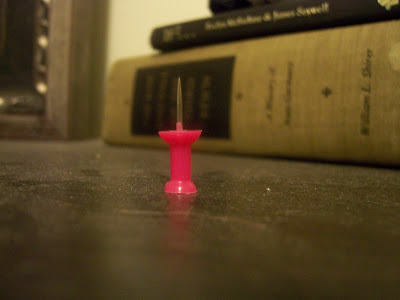
first of all you get one of these guys…
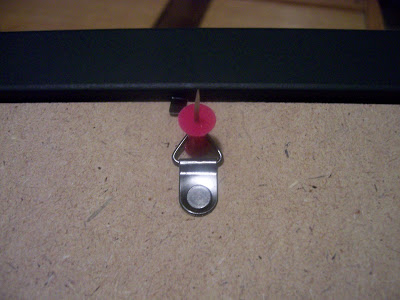
then you put it here….
and then, while holding the push pin in place, hold the picture on the wall and press the pin in hard enough to leave a depression so you know where to put the nail.
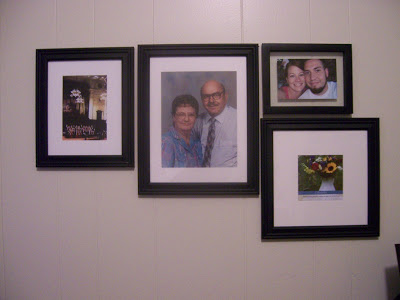
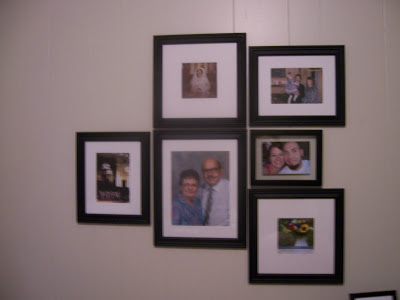
here it is after a couple more pictures are hung. i know that some of the lines arent perfect but you know what? it works for me 🙂
this is what happens if you mistake the pin hole and put the nail in the wrong one. this is not where i wanted the top right picture.so i just pulled the nail out and tried again. i got it the third time. 😉 third time is the charm you know…
and here it is all finished. i waited until i had hammered all the holes in the wall to straighten them up. and then…
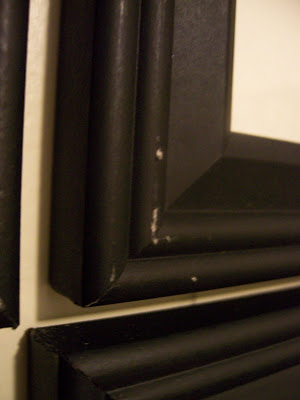
i took a black sharpie and colored all the little spots that i hit. oops.
so once again here is my gallery wall for my family pictures.
i am very pleased with how it turned out! 🙂
what did you do on your weekend?
p.s. i am linking this to works for me wednesday over at we are that family! 🙂

I am contemplating my own picture gallery. I enjoyed reading about yours and thank you for the push pin idea – pretty creative!
Once I get the initiative to do mine, I'll have to blog about it and send you the link.
Oh that looks fantastic! And it LOOKS so hard to do to get them so close together. Very impressive. We were stuck at home all week because of the snow and didn't do AN-Y-THING. 🙂
looks great, and excellent idea for the pushpin – thanks!