Curly hair for everyone! Sharing what I’ve learned in this curly girl method for beginners guide today! Enjoy!
I’ve known all my life that my hair was kind of curly. For years and years I would straighten it within an inch of it’s life with my Chi flat iron a’la Rachel Green from seasons 4-7. Flat as a board was the name of the game and I was really good at it! I never thought I had nice curly hair – I always just thought it was frizzy and needed to be tamed.

Until around three years ago, when I started letting it dry naturally with some gel in it because it was just too hot to do all that work! I called it my “summer hair” and gave up heat and styling tools during the summer months. I loved it – it was freeing to not have so much work to do every morning!

Then I figured out how to work a curling iron (in my early 30s no less) and went back to washing/blowdrying/curling. It looks good when I do it, but it is still a lot of work and honestly some days I just don’t feel like it lol! Do you feel me on that? So this summer, I finally decided to try out the curly girl method and see what happened.
Curly Girl Method for Beginners
I’ve put it off for a long time – probably about a year – because it just seemed so complicated and expensive and time consuming. I’ve only just scratched the surface of all the info that is out there, but I feel like I’ve found a good starter routine to introduce my hair to the curly girl ways and I can already see a difference in my curl formation! Let’s get on to my curly girl method for beginners guide!
(I must tell you here that I still have no idea what the porosity of my hair is, which is evidently important, and I’m really terrible at “plopping” which is also an important step. I’m just going to document as I go and share the journey with you so maybe we can all learn together!)
Products
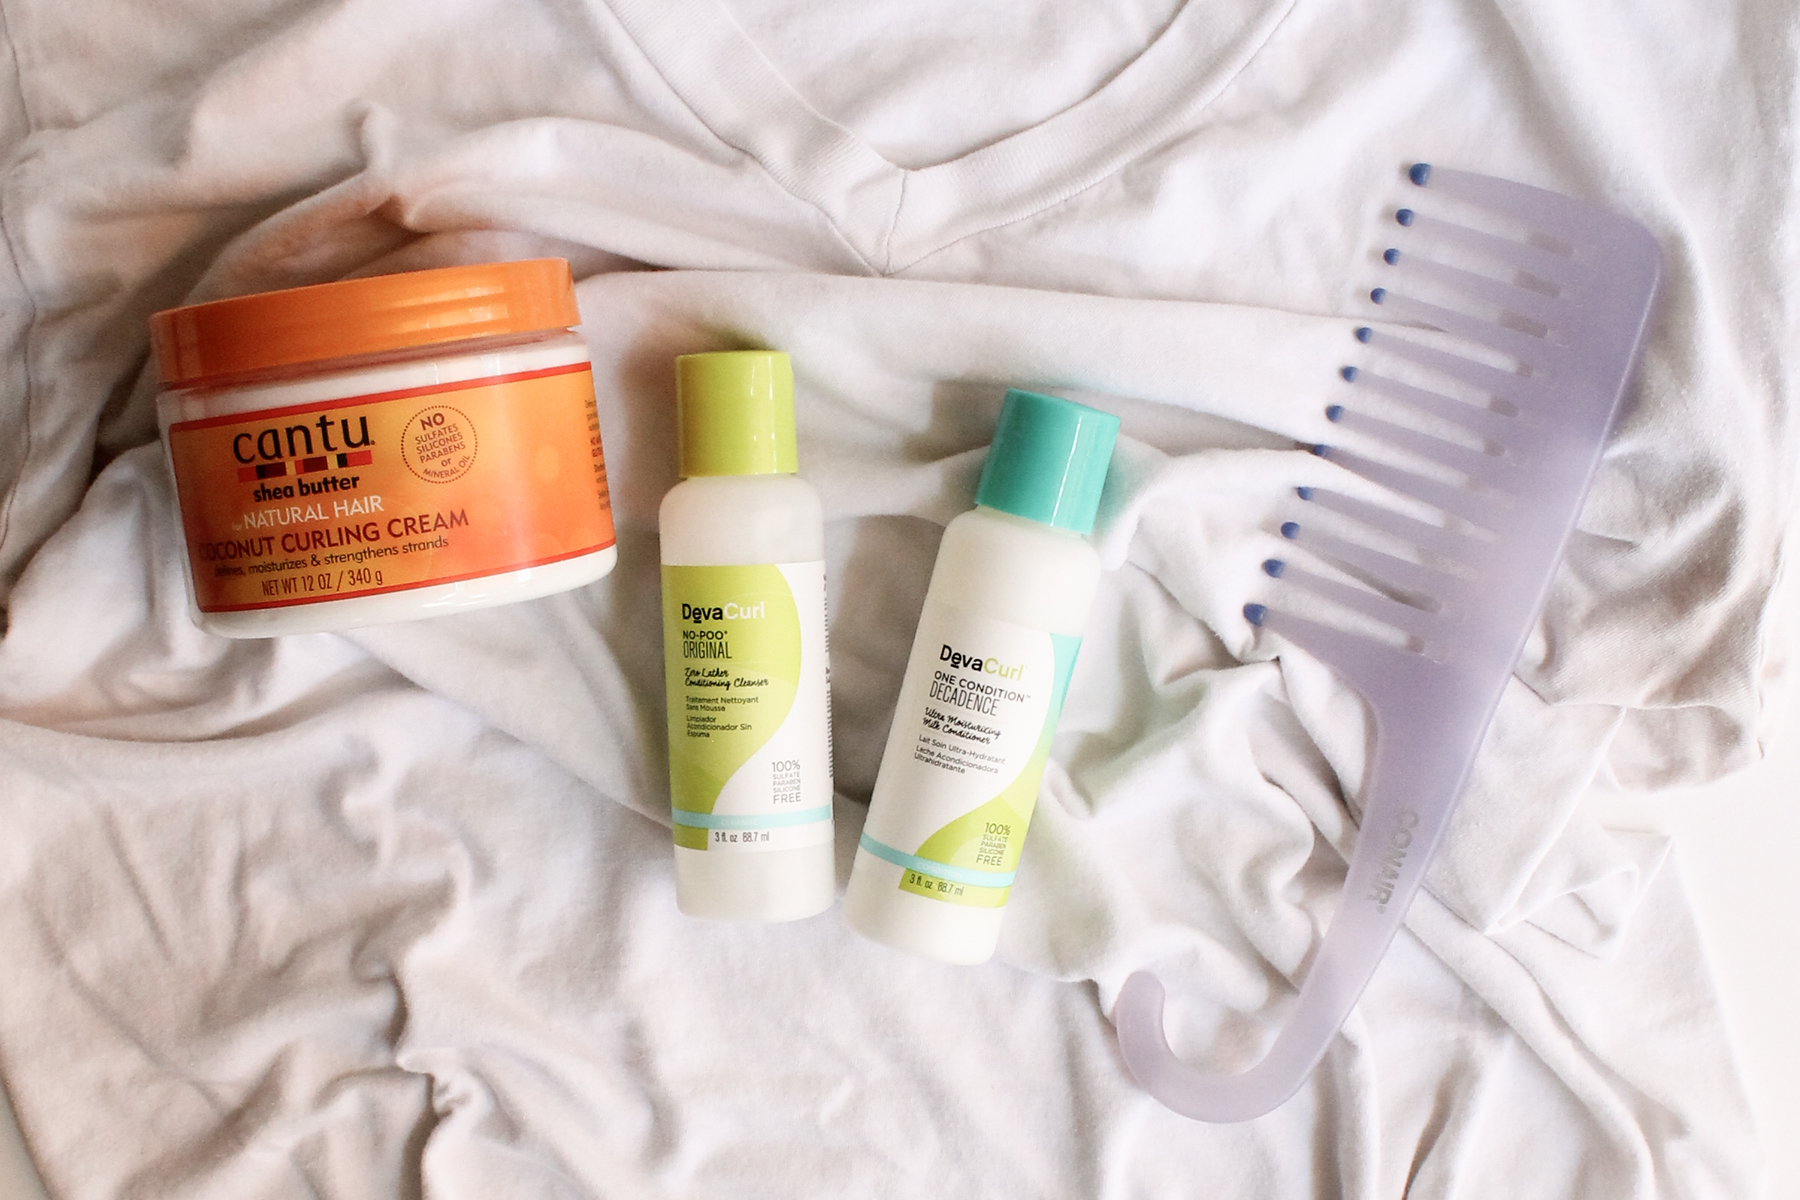
The products you use are probably the most important thing. There are silicones and sulfates and alcohols that are both good for you hair and bad for your hair. I referenced Naturally Curly a lot when it came to ingredients, but the basic gist of it is that curly hair loves and needs to be moisturized and things like silicones and phlatates can seriously mess with your curl pattern. I read this post and used that a guide when purchasing my products.
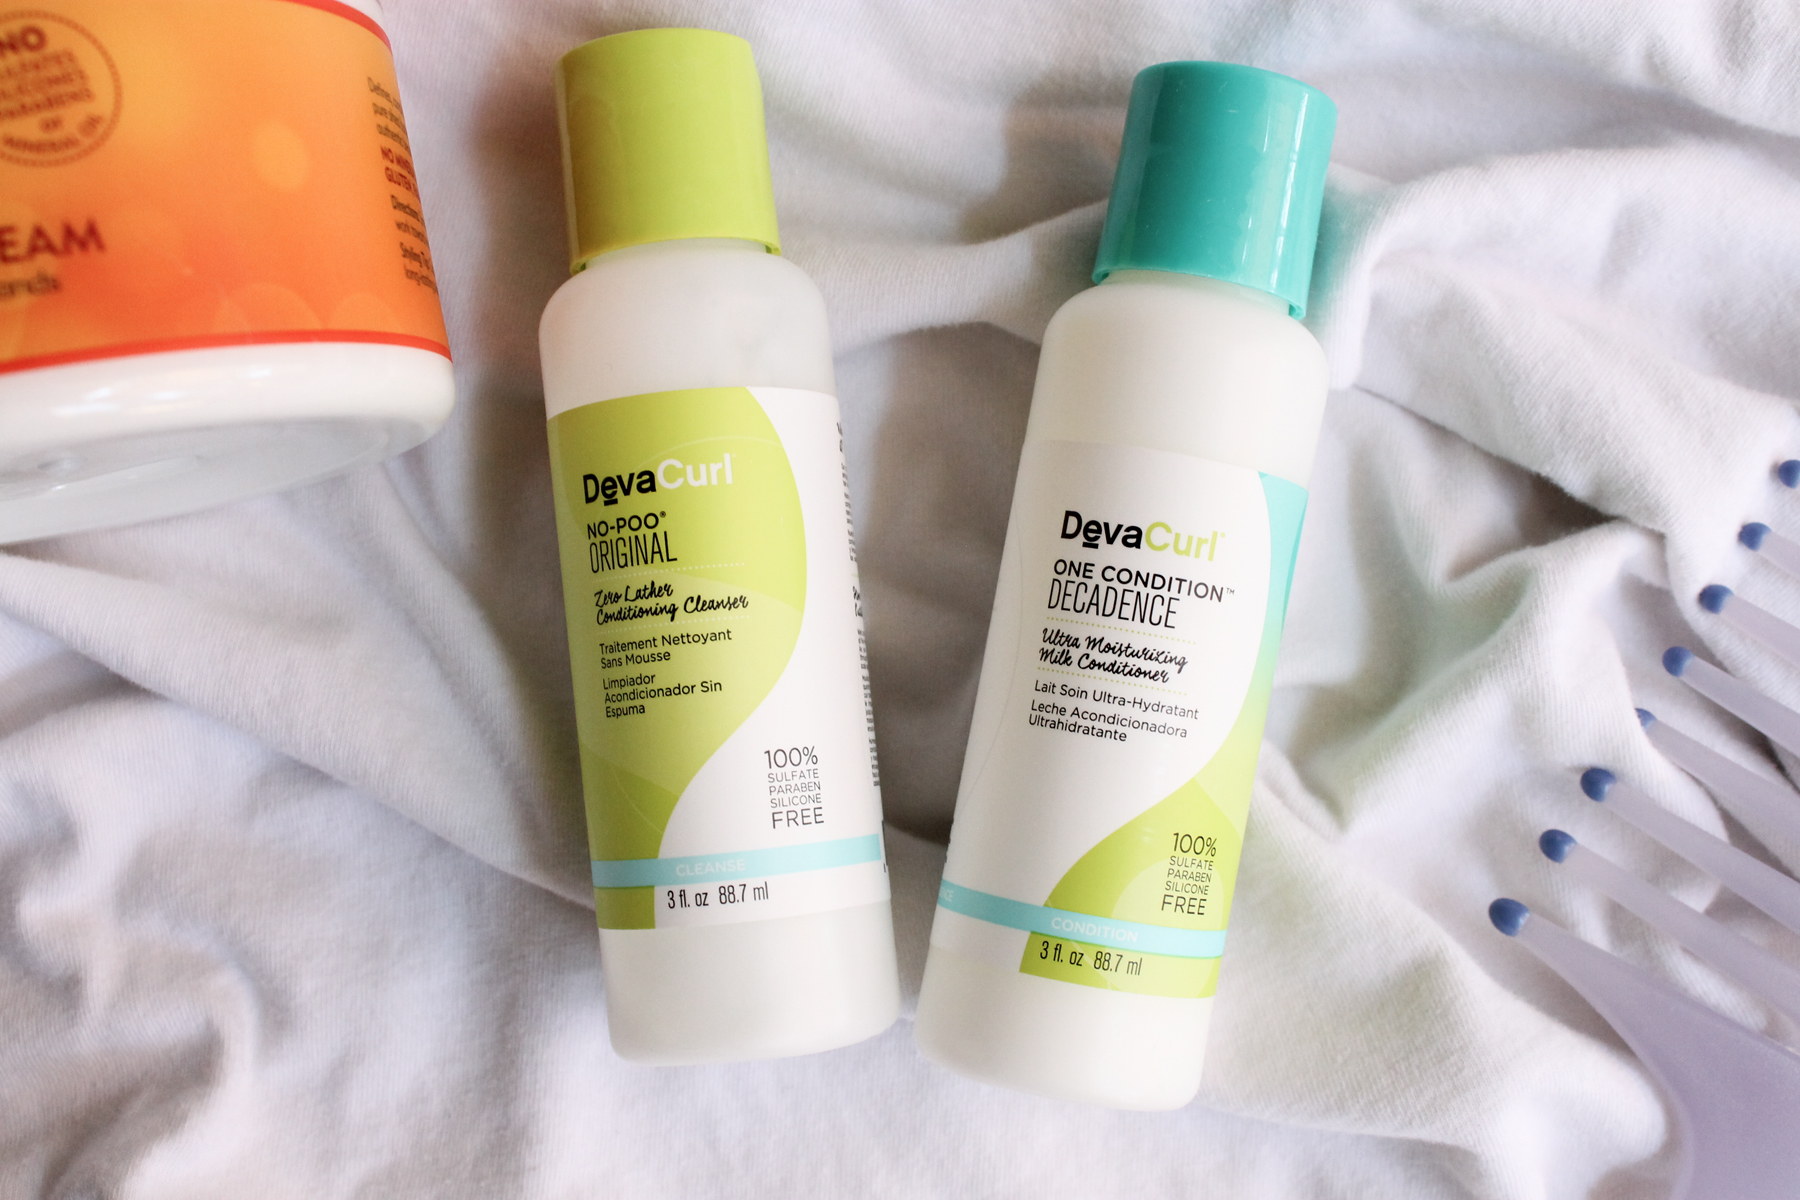
With a name like Deva Curl, and the fact that they are both curly girl approved, I figured this was as good of a place as any to start my journey. I grabbed the sample sized bottle of each of these at Ulta (you can find the “shampoo” here and the conditioner here) because I didn’t want to be stuck with a full size bottle that I would feel obligated to use up. I used these for the first three weeks, and then switched over to…

Shea Moisture Raw Shea Butter Moisture Retention Shampoo and Restorative Conditioner (both curly girl approved). I used these first the first time on August 19th, which is the ‘week 4’ photo you see in the progress collage later in the post. The Deva Curl products were working fine, but they are rather pricey for me, so I wanted to see if I could find something more affordable and tried these out! (TIP: If you use and like these, buy them on Amazon – they are a lot cheaper there!)
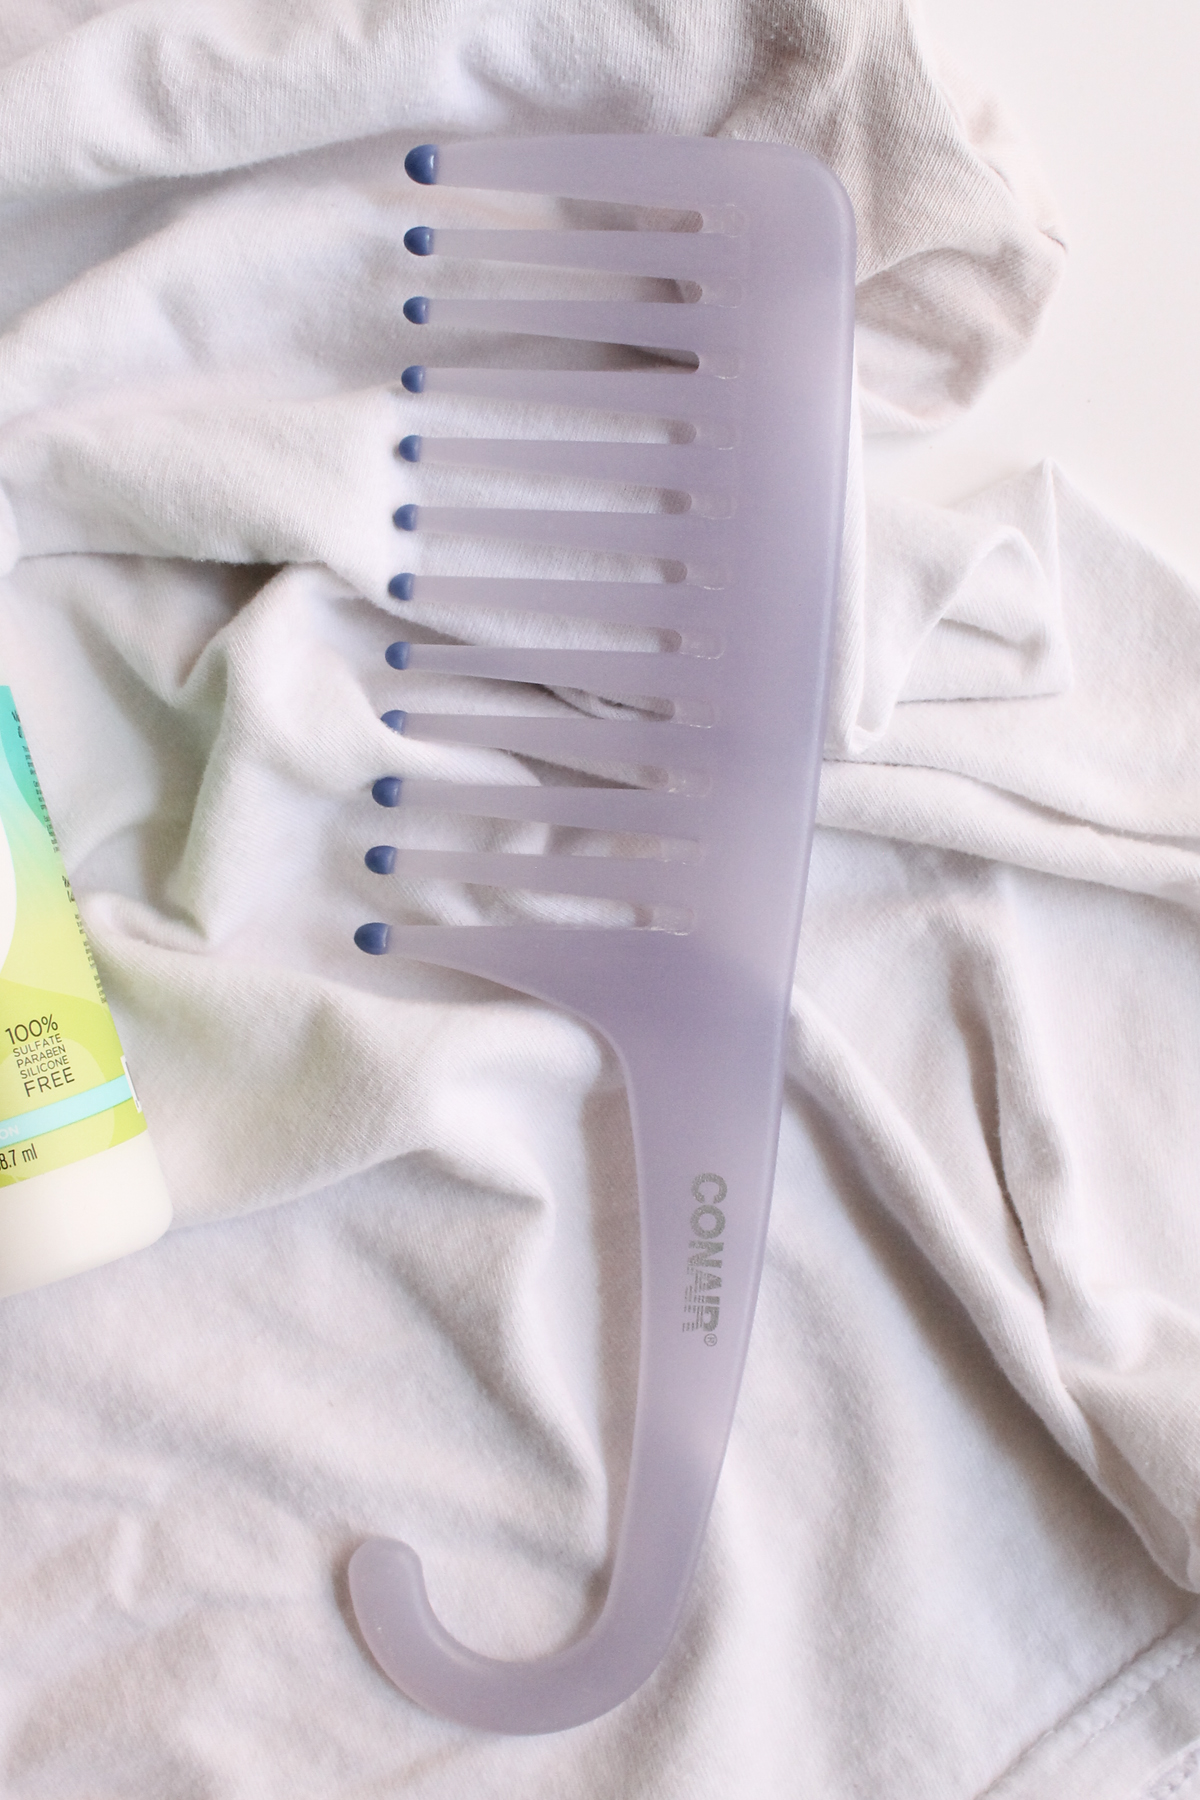
I use a simple wide tooth comb in the shower to gently comb out the tangles in my hair while I have the conditioner in. I do this with my head flipped over and after I have finished all my other shower shenanigans (bathing, shaving, etc.) *See video for more info at the bottom of the post!*

If you are new to the curly girl method and you have thick, coarse, heavy hair, may I highly, highly recommend you start with this creme as your curling product? I absolutely LOVE it! It makes my curls soft and shiny without weighing them down and it smells incredible! I love it!
Method
It would be much easier to explain the method I’ve been using via video rather than try and type it out, so here you go!
(If you’re in a feed reader, you might need to click here to open up the video)
Progress Photos
Even just four weeks in, I’ve already seen great improvement in my curl pattern and formation! I’m getting curls closer to my scalp than ever before and it is holding the product and curl overnight so well!
(Oh, I should also probably mention that I’ve been sleeping on a silk pillowcase at night – this one to be exact!)
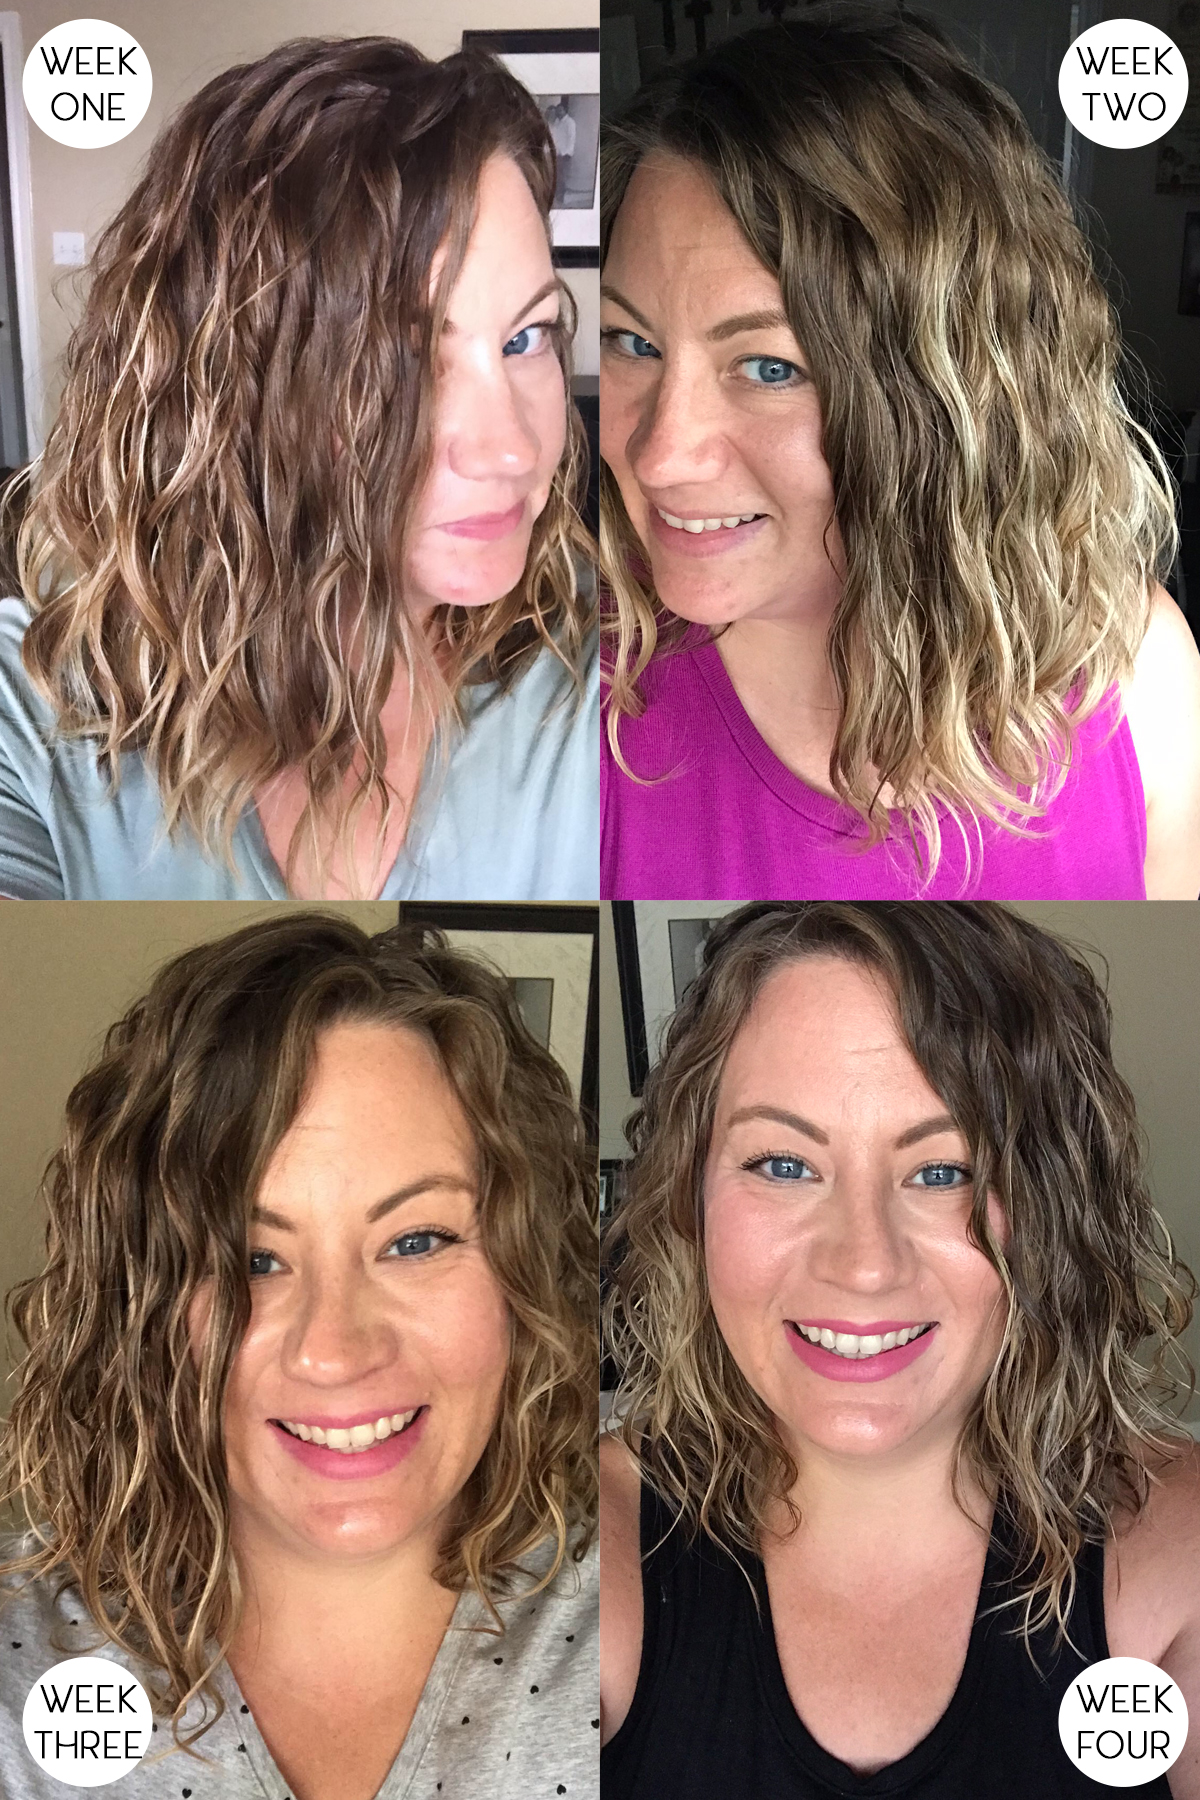
I’m excited to see where this leads as far as my hair goes! I still have a lot (a LOT) to learn, like how to do a refresh properly, how to wrap my hair at night to better preserve the curls, and way more about my hair’s texture, but know that I’ll share all my findings every step of the way with you guys!
Getting Started
The most important thing I need you to know is that this process is not nearly as complicated or expensive as I thought it would be. I honestly thought there was a lot more to it than there is and that I had to buy expensive, salon-brand products in order to stay “curly girl approved” and that could not be further from the truth.
While I fully expect to spend a little more money perfecting my product combination for my hair, it helps knowing that there are plenty of drug store products that are free of the ingredients I should stay away from.
I’m also excited to continue to learn more about my hair and what methods work best for it as I go. There are lots of different ways to “do” the CG method, but the key is to be willing to experiment a bit and then land on what your hair likes.
Questions?
Although I feel like I’m nowhere near qualified to be taking questions on this subject – be sure to leave a comment if you do have one and I’ll try to find the answer for you! In the mean time, I would head over to Naturally Curly to get started!

Skye, I am curious if you have been wearing your hair exclusively curly since you started the method or are you still straightening on occasion? I want to boost my natural curls but want the option to go straight. Wondering if you can do both?
Hi Paige! I believe that those who are truly committed to the plan do forgo any heat styling while they are doing curly girl method. However, I say that in the end, it is your hair and you can do whatever you like! I think you’ll probably see the quickest results if you do not use a blowdryer or straightener. I have done that once during this process, when I got my hair cut about two weeks in. I hope that is helpful!